


If you are like me, a bit of an introvert, social media interaction is downright painful. Lack of Likes and trolls can mess with your self-esteem. What if there were a non-communication social platform you could use? Would you do it?
Well, there is! Pinterest! You don’t have to like everything you see, engage in potentially controversial group conversations, or worry sharing too many posts. You get in, pin some things and get out, just like that!
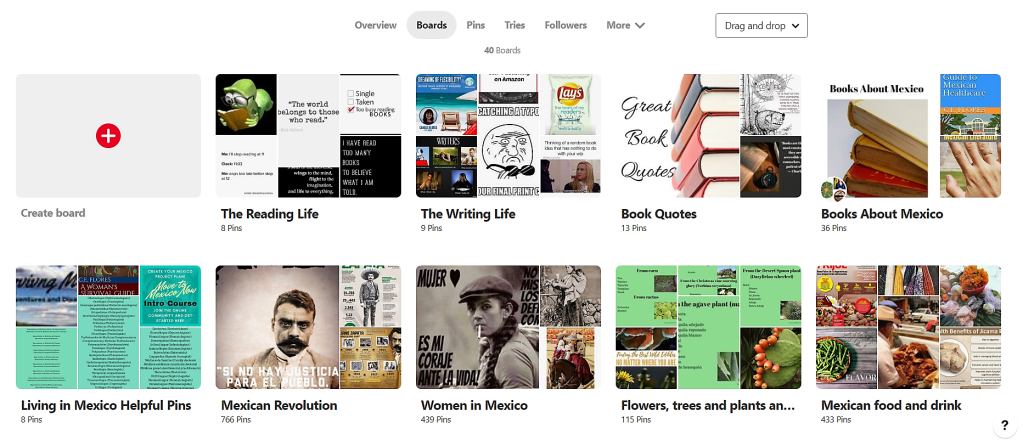
As a writer, you can create boards for writers or readers. Pin your favorite books, authors, book quotes, motivational phrases, and writer woes. If you write an article on your author website about the top 10 best ways to promote your self-published book on Amazon, include a pinnable image in the article and pin it.

You can also create boards for each of your books. This isn’t a promo board, but rather of pictures of your research. Take a look at how the author of Deadly Kin did this. Her profile picture lets us know she writes Regency romance type books. She’s listed the research books she used and then look at the images she included. You can bet your bottom dollar that a couch like The Knole Sofa pictured is a key point in the book. Intriguing, right?

Even if you already have a personal Pinterest account, you’ll want to use a business account for the analytics aspect. You can transfer your personal account to a business account (and make boards you don’t want the world to see hidden) without too much difficulty.
To do this, log in and click the three dots (…) that are in the upper right hand corner. Choose : Add a free business profile. Decide on topics that describe your business, as well as adding the business type, name, email, and website. If you have an author Instagram, Etsy or Youtube account, you can link them up to Pinterest. You’ll be given the option to copy boards from your personal profile. If you want to start fresh, you’ll be taken to the area where you can create your first Pin.
Pinterest templates Landing Page
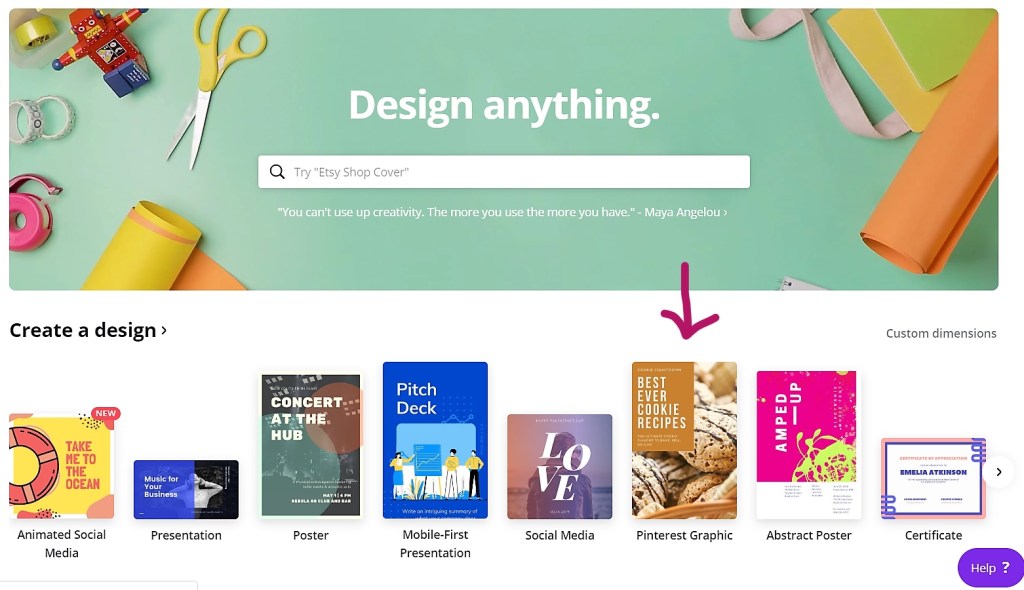
I absolutely LOVE Canva for creating Pinnable images.

Once you have an image, to create a pin, click on the plus sign in the upper right hand corner.
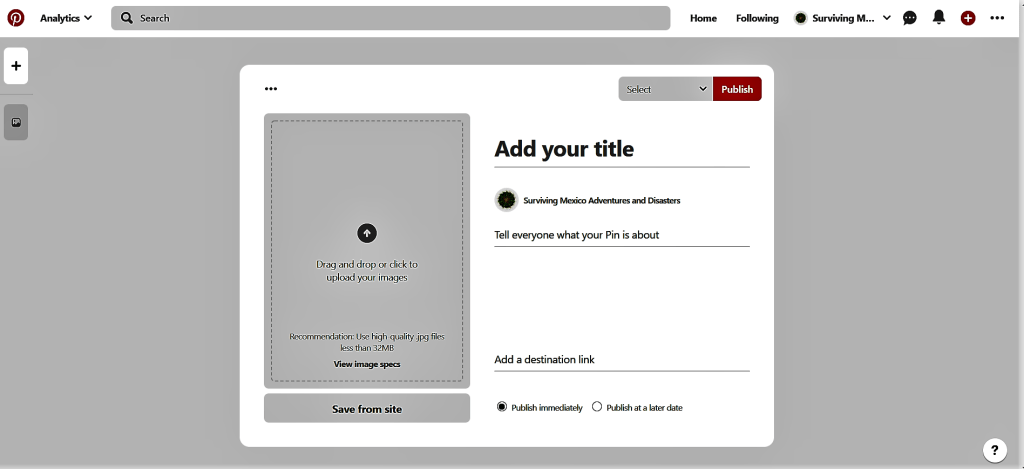
Upload your image. Write a headline and short description. Add the link you want people to go to if they click on the pin. Choose a board to pin your pin to. Publish now or schedule it for later and that’s it.
Spend some time scrolling through your Pinterest feed. Go ahead and add pins to your boards gleefully. If you come across something worth pinning in your web browsing, do it! It only takes a few seconds. Pinning from the site itself keeps the image connected to the right content so other people can enjoy that little tidbit too.
Assignment: Create your Author Pinterest account.